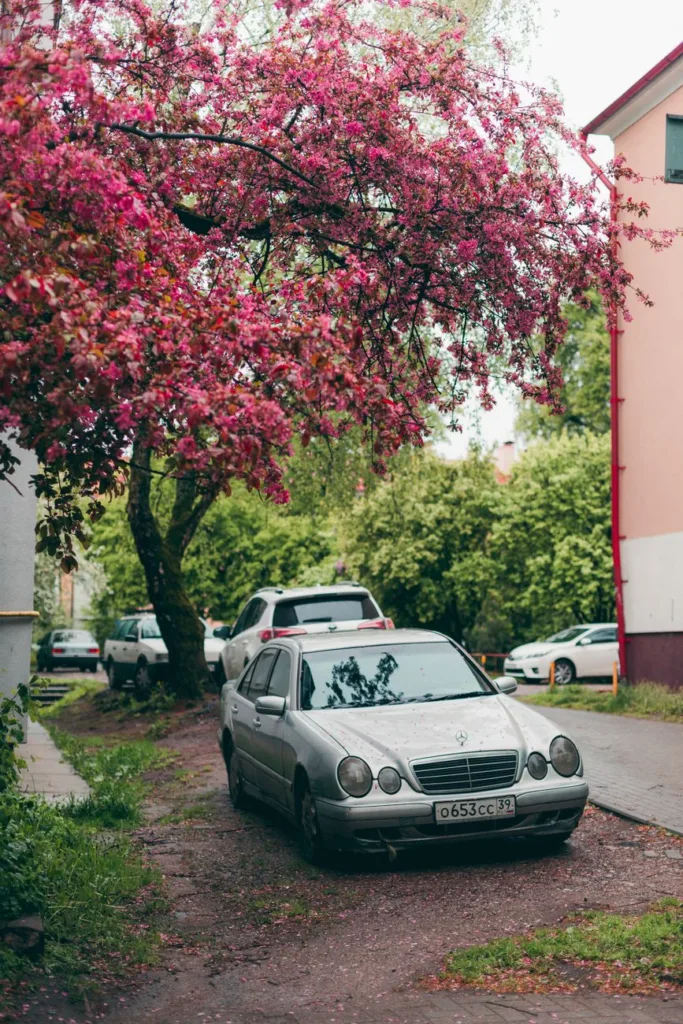
Tree sap should be removed from a car as soon as possible, because the longer it sits, the harder it becomes to dissolve and the greater the chance it can stain or etch the clear coat. In most cases, fresh sap can be lifted with warm water, car shampoo, isopropyl alcohol diluted appropriately, or a dedicated automotive sap remover, followed by a gentle wash and protection of the paint. If the sap has hardened, you may need a little more patience, but the key is still the same: soften it, loosen it gently, and avoid scraping the paint.
A gentle wash is part of sap-removal preparation and cleanup; our car wash soap comparison covers wash products, while stubborn sap may require a separately approved remover.
Tree sap is one of those contamination problems that looks harmless at first and becomes frustrating quickly. It can drip onto paint, glass, trim, and even glass sunroofs, then bake in the sun until it turns sticky, cloudy, or rock hard. The good news is that most sap can be removed safely at home if you use the right method and keep abrasives away from the surface.
Why Tree Sap Is a Problem for Car Paint
Tree sap is more than just a sticky mess. Fresh sap can trap dirt and dust, which turns it into a gritty contaminant that can scratch the finish if you rub it across the paint. Once it hardens, it can bond more strongly to the clear coat and sometimes leave a dull spot or faint mark after removal. For the decontamination step, see how a clay bar works and why lubrication and careful handling matter.
The risk is higher on cars that sit outdoors for long periods, especially under pines, maples, or other sap-producing trees. Warm weather speeds up the process, and direct sunlight can make the sap cure faster. If the sap lands on a waxed or sealed surface, removal is usually easier than on unprotected paint, but it still should not be ignored.
Tree sap is different from bird droppings or bug residue, though the cleanup process has some similarities. Sap is sticky and resin-like, so the goal is to soften it without damaging the clear coat, plastic trim, or surrounding paint.
What You Should Do First
The first step is to avoid aggressive rubbing. Dry wiping with a towel can drag dirt across the surface and create swirl marks. If the sap is thick or hardened, pulling at it with a fingernail or hard tool can scratch the paint immediately.
Before using any cleaning method, rinse the area with clean water if possible. This removes loose grit that could act like sandpaper during the cleaning process. If the car is hot from sitting in the sun, move it into the shade and let the surface cool before working on it.
If the sap is on a large area or has been there a long time, it may help to wash the affected section first with car shampoo and water. That way, you are not grinding dirt into the paint while you focus on the sap itself.
How to Remove Tree Sap From a Car Safely
The safest removal method depends on how fresh the sap is. Fresh sap is usually easier to soften, while old sap may need repeated treatment. The general rule is to start with the least aggressive approach and only move up if needed.
Method 1: Warm Water and Car Shampoo
For very fresh sap, soap and water may be enough. Use a bucket of warm water and a pH-balanced car shampoo, then soak a microfiber towel or wash mitt and hold it against the sap for a minute or two. This helps loosen the residue before you gently wipe it away.
This method is safest for paint, plastic trim, and glass. It may not fully remove hardened sap on its own, but it is a good first step and may reduce how much stronger cleaner you need later.
Method 2: Isopropyl Alcohol Diluted for Spot Cleaning
Isopropyl alcohol can break down many types of tree sap, but it should be used carefully. A diluted mix is usually safer than using it straight, especially on painted surfaces. Apply the solution to a microfiber towel rather than directly flooding the panel, then dab and gently wipe the sap until it softens.
Use light pressure. If the sap starts to smear, let the cleaner dwell for a short time and try again. After the sap comes off, wash the area with car shampoo and water to remove any leftover residue. This is important because alcohol can strip wax or sealant from the spot you cleaned.
Method 3: Dedicated Automotive Sap Remover
Automotive sap removers are designed to soften sticky organic residue without being as harsh as some household solvents. They can be useful when sap has been on the paint for several days or when the spot is too stubborn for soap and water alone. Follow the label directions and always test on a small, hidden area first if you are unsure how a product will react with your finish.
These products are especially helpful on clear coat and glass. As with any spot treatment, you should wash and re-protect the area afterward if the product removes wax or sealant.
Method 4: Clay Bar for Leftover Contamination
After the visible sap is gone, the paint may still feel rough. That roughness can mean a trace amount of resin remains bonded to the clear coat. In that case, a clay bar or synthetic clay towel used with proper lubricant can help remove the remaining contamination.
Clay should only be used after the main sap has been softened and lifted. It is not usually the first choice for thick sap deposits, because it works best on surface contamination rather than heavy resin blobs. Use it gently and inspect the panel often.
Comparison of Common Sap Removal Methods
| Method | Best For | Pros | Limitations |
|---|---|---|---|
| Warm water and car shampoo | Fresh sap | Safest, easy to try first, low risk to paint | May not remove hardened sap |
| Diluted isopropyl alcohol | Moderate sap buildup | Effective on sticky residue, widely available | Can strip wax or sealant, must be used carefully |
| Automotive sap remover | Stubborn sap spots | Formulated for vehicle surfaces, often works quickly | May still require repeated application |
| Clay bar or clay towel | Residual contamination after primary removal | Good for smooth finish restoration | Not ideal for thick sap, can mar paint if dirty or misused |
Step-by-Step Process for Removing Tree Sap
A careful process reduces the chance of paint damage. You do not need special skills, but you do need patience and a clean working method. Follow these steps for most sap spots on paint, glass, and exterior trim.
1. Cool the Surface and Rinse Off Dirt
Work in the shade if possible and make sure the panel is cool to the touch. Rinse away loose grit so it does not scratch the finish. If the car is heavily dusty, give the whole area a quick wash before focusing on the sap.
2. Soften the Sap
Use warm water, diluted alcohol, or a sap remover on a microfiber towel. Press it lightly against the spot and allow it to dwell for a short time. The idea is to soften the resin so it releases without force.
3. Lift, Do Not Scrub
Wipe gently in short motions. If the sap resists, repeat the softening step rather than increasing pressure. Scrubbing can spread the sap and create fine scratches.
4. Reclean the Area
Once the sap is removed, wash the area with car shampoo and clean water. This removes any cleaner residue that may remain on the panel. Dry with a clean microfiber towel.
5. Inspect the Finish
Look at the paint from different angles in good light. If the area feels rough, use a clay product if appropriate. If the sap left a stain or dull spot, the finish may need polishing by hand or by a detailer, depending on how severe the mark is.
What Not to Use on Tree Sap
Using the wrong tool can create a much bigger repair than the sap itself. Many people reach for whatever is nearby, but some common household items can harm the clear coat, trim, or adhesive layers around the car.
- Razor blades on paint: These can scratch or cut through the clear coat very quickly.
- Dry towels or paper towels: They can drag grit and create swirl marks.
- Harsh solvents without testing: Some can stain trim, haze plastic, or remove protective coatings.
- Excessive scrubbing: Pressure does not dissolve sap, it only increases the chance of damage.
- Abrasive pads: These can leave visible marring, especially on dark paint.
There are situations where a strong cleaner or careful spot treatment is appropriate, but the key is to use something made for automotive surfaces whenever possible and to test cautiously.
Can Tree Sap Damage Paint Permanently?
Yes, it can, especially if it sits on the car for a long time. Sap can bake into the clear coat, leaving a stain or etch mark that does not come off with simple cleaning. In severe cases, the resin can bond so strongly that polishing is needed to restore the finish. For a wider prevention routine, see how to prevent clear coat failure, including washing, contamination control, and sun exposure.
How quickly damage happens depends on the type of sap, how hot the panel gets, how long the car sits outside, and whether the paint has protection. A fresh spill may be removed easily the same day. A spot that has baked for weeks may require several treatment cycles or professional detailing.
Paint protection such as wax, sealant, or ceramic coating can make sap removal easier, but it is not a guarantee. Even protected surfaces should be cleaned promptly.
How to Remove Tree Sap From Different Surfaces
Not every surface on a car reacts the same way. Paint, glass, plastic trim, and clear-coated wheels may all need slightly different care. Always think about the material you are cleaning before choosing a method.
Painted Panels
This is where caution matters most. Use gentle cleaners first, then move to diluted alcohol or an automotive sap remover if needed. Avoid hard scraping and minimize rubbing. If the sap has left a visible mark after removal, the panel may need polishing.
Glass
Glass is more tolerant than paint, so sap is often easier to remove from windows and windshields. A dedicated glass cleaner or a mild alcohol solution can help. Still, avoid letting strong cleaners run onto painted edges or plastic trim.
Plastic Trim and Rubber
Unpainted trim can stain or haze if you use the wrong chemical. Test carefully and avoid aggressive solvents. Gentle soap, trim-safe cleaners, and short dwell times are usually the safest approach.
Convertible Tops
Fabric and vinyl tops need extra care. Do not assume the same method used on paint is safe on the top material. Use cleaners suitable for the top type, and follow the manufacturer’s guidance whenever possible. If sap has soaked into fabric, removal may be more complicated.
Common Mistakes When Removing Sap
Many sap-related paint problems happen because the cleanup was rushed. Avoiding a few common mistakes can save you from swirl marks, dull spots, and unnecessary rework.
- Waiting too long: The longer the sap sits, the harder it becomes to remove.
- Using too much force: Pressure does not help dissolve sap and can scratch the finish.
- Skipping a pre-rinse: Dirt on the surface increases the risk of marring the paint.
- Using the same towel everywhere: A contaminated towel can spread grit and residue.
- Ignoring surrounding areas: Sap often drips or splatters beyond the obvious spot.
- Forgetting to re-wax or seal: Spot cleaning can remove protection from the treated area.
How Long Can Tree Sap Stay on a Car?
There is no safe time limit that applies to every car in every environment. A spot removed the same day is usually much easier than one left for a week in summer heat. In hot weather, direct sun can harden sap surprisingly quickly, which is why prompt cleanup matters.
If you cannot clean it immediately, at least rinse the area with water when you get a chance. Parking under a tree again, especially in warm weather, can allow more sap to land on the same spot and make the problem worse.
When Polishing May Be Needed
If you remove the sap but still see a cloudy patch, faint stain, or dull spot, the clear coat may have been affected. At that point, a mild polish may restore clarity by removing a very thin layer of oxidized or marked clear coat. This should be done carefully, because polishing removes material rather than just cleaning the surface.
For minor marks, hand polishing may be enough. For deeper etching, a machine polish or professional detailing may be more appropriate. If you are unsure whether the finish has been damaged or merely contaminated, inspect the area in sunlight or bright indirect light before deciding.
How to Prevent Tree Sap on Your Car
Prevention is easier than removal. If you regularly park near trees, a few simple habits can reduce how often you face sap cleanup and how much effort it takes when you do.
- Choose parking spots away from sap-heavy trees: Even a small move can reduce exposure.
- Wash the car regularly: Fresh sap is easier to remove before it bonds to the paint.
- Use wax or sealant: These layers can make cleanup easier by reducing adhesion.
- Consider a car cover when appropriate: Useful for long-term parking, though covers must be clean to avoid scratching.
- Inspect the car after parking under trees: Early detection prevents buildup.
It also helps to understand the season. Tree sap is often more noticeable during warmer months when trees are actively shedding resin, but it can happen year-round depending on the type of tree and local conditions.
Estimated Cost Considerations
DIY sap removal can be inexpensive if you already have basic wash supplies. A bucket, car shampoo, and microfiber towels may be enough for light contamination. If you need a sap remover or clay product, the cost is usually still modest compared with professional detailing.
Professional removal costs vary by location, vehicle size, and how much correction is needed. A simple spot clean may be inexpensive, while sap that has stained the clear coat can require polishing, which increases the price. Severe cases may require paint correction if the damage is visible after cleaning.
If the sap is on a leased car or a newer vehicle with dark paint, it is often worth addressing sooner rather than later. Dark colors tend to show defects more easily, and delayed cleaning can turn a simple cleanup into a cosmetic repair.
When to Seek Professional Help
DIY removal works well for many sap spots, but some situations call for a detailer or body shop. If the sap has been baked on for a long time, if there is visible etching, or if the spot is on a sensitive surface such as matte paint or delicate trim, professional help may be the safer route.
You should also consider professional assistance if the sap covers a large section of the car or if repeated gentle attempts do not remove it. Forcing the issue can create more visible damage than the sap itself.
FAQ
What is the safest way to remove tree sap from a car?
The safest approach is to start with warm water and car shampoo, then move to a diluted alcohol solution or an automotive sap remover if needed. Always work gently and avoid scraping.
Will rubbing alcohol damage car paint?
It can strip wax or sealant and may cause issues if used too strong or too often, but diluted alcohol used carefully for spot cleaning is commonly used on automotive surfaces. Always follow with a wash and, if needed, reapply protection.
Can tree sap permanently damage car paint?
Yes. If sap sits too long, it can stain or etch the clear coat. In some cases, polishing is needed to restore the finish.
Can I use a razor blade to remove sap from glass?
On glass, a razor blade can sometimes be used very carefully by experienced users, but it should never be used on painted surfaces. If you are not confident, use a safer chemical method first.
Does wax help protect against tree sap?
Yes, wax or sealant can make sap easier to remove because it creates a smoother barrier. It does not make the car immune to sap, though, so prompt cleaning is still important.
Is a clay bar good for removing tree sap?
A clay bar can help with leftover contamination after the main sap has been softened and removed. It is not usually the first step for thick or hardened sap.
What should I do if sap has been on my car for weeks?
Start with a safe cleaner and expect that you may need repeated treatment. If the spot remains stained or dull after cleaning, polishing or professional detailing may be necessary.
Conclusion
Tree sap should be removed quickly, but carefully. The safest process is to loosen it first, wipe gently, wash the area afterward, and inspect the finish for any lingering residue or damage. Fresh sap is usually easy to handle, while hardened sap may require repeated treatment or polishing.
The main things to remember are simple. Do not scrub aggressively, do not use harsh tools on paint, and do not leave sap sitting on the car for long. With the right method and a little patience, most sap can be removed without harming the finish.